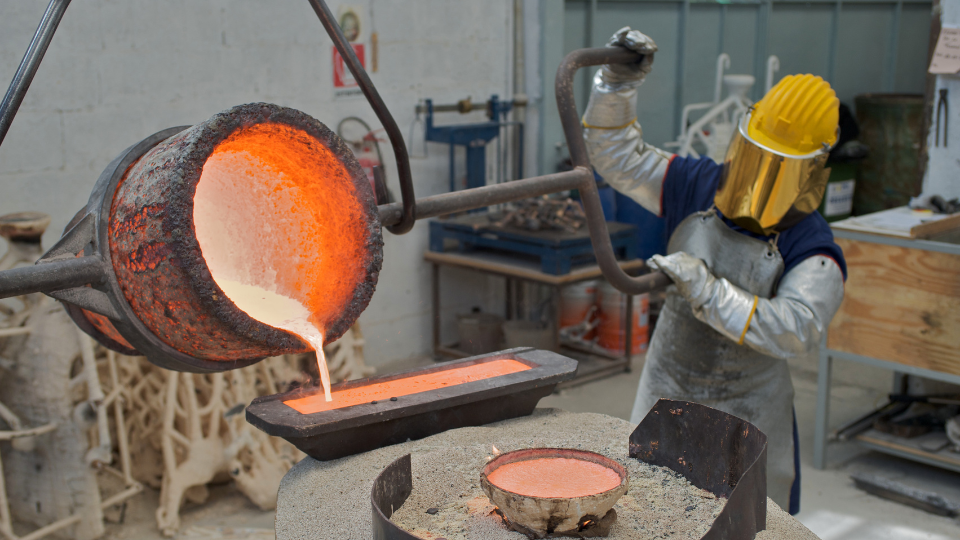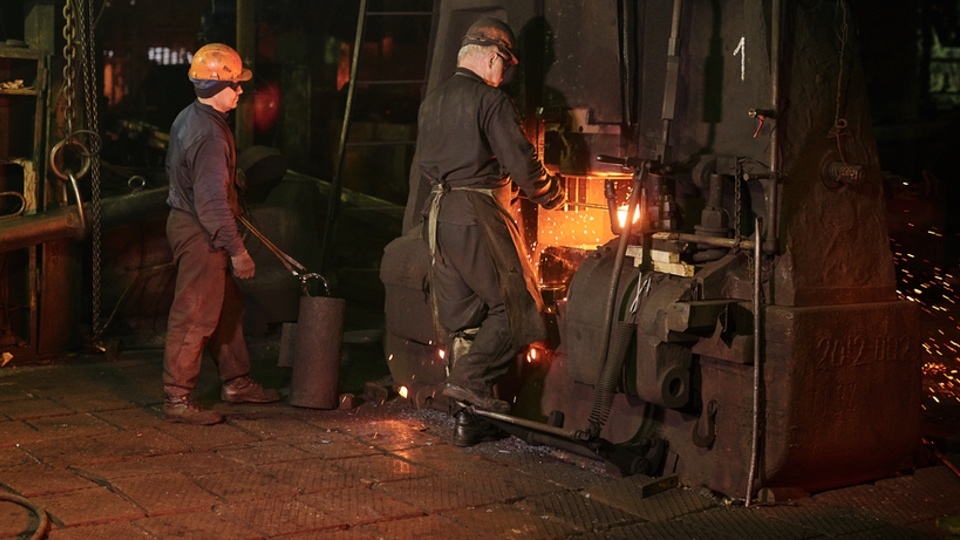
In the demanding environment of metal casting, even minor temperature deviations can lead to defects, wasted material, and compromised performance. Accurate thermal analysis depends on precise calibration, ensuring that readings reflect actual melt conditions and support consistent, high‑quality production.
Calibration in foundries is more than a compliance requirement; —it’s a cornerstone of process control, enabling operators to make informed adjustments in real time. By following industry best practices and maintaining traceable calibration records, foundries can reduce scrap, improve yield, and build greater confidence in their metallurgical results.
Why Calibration Is Essential for Foundry Consistency
Every casting batch hinges on accurate temperature control. Whether analyzing chill wedges or calculating carbon equivalent (CE), precise readings help monitor melt chemistry and solidification dynamics. Without calibration, readings may drift from actual process conditions, leading to:
- Suboptimal graphite nodularity or carbide formation
- Excess scrap due to shrinkage, porosity, or inclusions
- Misaligned chemistry from inaccurate melt temperature assumptions
Calibration ensures that your instruments accurately track molten behavior so operators can make informed decisions in real time.
When and How Often to Calibrate
While calibration frequency depends on usage and environment, standard practice suggests:
- Annual lab or factory calibration for all thermal analysis systems or static pyrometers
- Weekly field checks using a NIST-traceable reference device to monitor drift
- Calibration after any process shock, such as high slag exposure or mechanical impact
Maintaining both scheduled and condition-triggered calibration helps maintain system accuracy without unnecessary downtime.
Calibration Best Practices for Foundry Tools
Use NIST‑Traceable Reference Standards
Calibration starts with traceability. NIST traceability confirms your measurement links to national standards through an unbroken chain of calibrations, enabling instrument accuracy documentation that ISO 17025 accreditation requires.
Consistent Handling and Positioning
Repeatability is critical. Immerse thermocouples to the same depth, avoid slag and oxide layers, and test thermal response regularly. Variability in handling can mask true instrument performance over time.
Match Calibration Method to Application
- Field calibration (onsite) is ideal for regular performance checks.
- Lab-grade multi-point calibration provides maximum accuracy and is recommended for CE calculations, chill wedge analysis, and processes with narrow temperature tolerances.
Consider your process tolerance limits and whether standard instrument specs align with operational requirements.
Interpreting Calibration Tolerances for Foundry Applications
The term “acceptable deviation” often arises in calibration discussions, but clarity is needed:
- Instruments are certified to design tolerance, assessing whether they meet factory specifications (e.g., ±2 °F for pyrometers or thermal analysis units).
- Process tolerance, on the other hand, refers to the allowable variation for your actual operations (for instance, ±4 °F in CE temperature might be acceptable).
When instrument certification exceeds your process tolerance, it generally provides sufficient precision. However, if your application demands narrower tolerance, you may require more precise calibration or higher grade instrumentation.
Calibration Certificates & Audit-Ready Documentation
Calibration certificates typically include the following:
- Calibration method, test points, and uncertainty values
- Traceability statements referencing NIST or equivalent national metrology institute
- Next calibration due date
These records serve as critical documentation for audit and quality assurance purposes, particularly in regulated industries or ISO‑9001 workflows.
Digital record-keeping is becoming an industry standard for calibration management. Many foundries are adopting systems that provide centralized access to calibration histories, certificates, and performance trends. This shift streamlines audit preparation, reduces administrative time, and helps ensure instruments remain within compliance thresholds.
A clear understanding of metrological traceability helps ensure that calibration records align with international standards and support compliance efforts.
The Role of Thermal Analysis in Process Control
Thermal analysis has evolved over nearly a century into a widely adopted foundry process control tool. Over the decades, it has progressed from early techniques in the 1930s to modern predictive systems that help refine CE calculations, graphite morphology, and casting defect prevention.
In recent years, modern thermal analysis systems have been applied more strategically in foundries to improve consistency and reduce scrap, as shown in research on process control of ductile iron using thermal analysis. These approaches allow for real‑time adjustments and reduced reliance on slower lab chemistry methods.
Calibration Anchors Foundry Precision
Calibration isn't just about instrument compliance; it enables greater metallurgical control, process consistency, and audit readiness. Foundries that embed calibrated thermal analysis systems into their quality program benefit from fewer defects, higher yield, and stronger customer confidence.
With NIST‑traceable systems, consistent handling practices, and future-ready digital documentation, SYSCON Sensors is a trusted technical partner at the intersection of thermal accuracy and foundry excellence.


